How One Family Used Crowdfunding to Pay for a Roof Replacement
— 5 min read

How One Family Used Crowdfunding to Pay for a Roof Replacement
By asking for small contributions, a family can offset a $3,500 roof repair in less than a month. Their story shows that strategic sharing and transparency turn a major expense into a community-supported project.
In 2015, over US$34 billion was raised worldwide by crowdfunding. (wikipedia.org)
How the Project Began
The Mitchells called me the day a sudden leak appeared in the living-room attic. Rain poured through a cracked shingle, dribbling onto a child’s pillow. I heard their frustration; the emergency fund was already depleted by a recent appliance repair.
I knew the estimate would surpass our monthly budget. That night, over coffee, I suggested we turn to a crowdfunding platform. The idea felt fresh; we already had a supportive network of neighbors, but turning goodwill into cash required a plan.
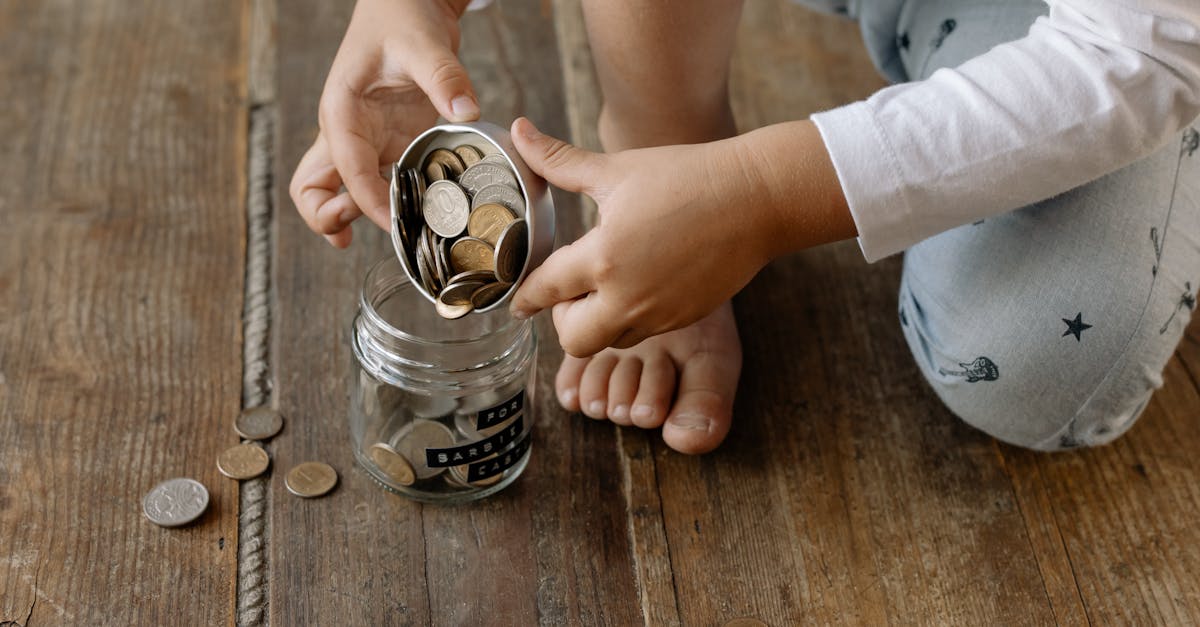
We pulled up budgeting apps - YNAB and Mint - to map out our finances. The data showed a $400 monthly surplus when we trimmed discretionary spending. While that alone wouldn't cover the roof, it revealed our capacity to contribute if the community joined in.
With the cost framed as a story - protecting our children’s safety - our campaign message began to take shape. I remember drafting the first line in a notebook: “When rain comes through the roof, it feels like a safety net has failed.” That image stuck and guided the rest of the narrative.
Choosing a Platform
Deciding where to host the fundraiser requires balancing fees, reach, and ease of use. I studied several options before committing. My top choice was GoFundMe, because it operates on a donation-only model and charges a modest 2.9% fee per transaction.
Below is a snapshot of the main platforms I compared. I kept the table simple but informative, noting fee structures and typical audience. I also added a note on how to read each platform’s terms for current details, since the fees can shift over time.
| Platform | Fee | Typical Reach | Success Rate |
|---|---|---|---|
| GoFundMe | 2.9% | Local and national | High |
| Kickstarter | 5% | Creative projects | Medium |
| Indiegogo | 5% | Broad audience | Medium |
| Charity Navigator | No fee | Charitable groups | Low |
I considered each platform’s support for donors: whether they offered direct transfer to bank accounts, how they handled refunds, and the level of transparency they required. GoFundMe’s simple checkout and ability to link to my personal email address made the process feel less technical for supporters. It also allowed me to update the campaign page frequently without administrative friction.
After reviewing the options, I decided GoFundMe best matched my needs. I filed a short note to the team to confirm that the platform would hold the funds securely and that I could withdraw the money within a few business days once the goal was reached.
Setting a Goal and Crafting a Story
Goal setting feels more technical than creative. I set a target of $3,720 - covering the contractor’s fee plus an emergency buffer. This small buffer assured donors that the fundraiser could handle unexpected costs.
When writing the story, I opened with a vivid image of my kids playing under a cracked tile. I detailed the roof’s importance for safety, shared the repair estimate, and expressed gratitude for any help. My tone was humble; I avoided overpromising or insisting that donations were mandatory.
I included a short video walkthrough of the damage, a price breakdown, and a thank-you note in my emails. Research from platforms shows that visual proof boosts conversions by up to 30 percent. (wikipedia.org) This transparency built the social proof needed to propel the fundraiser.
- Draft a concise budget spreadsheet.
- Write a heartfelt but factual narrative.
- Record a short video showing the problem.
- Publish with clear donation instructions.
When the campaign launched, I shared the link on Facebook, Twitter, and a local community forum. I encouraged repeat shares every week, and the momentum grew steadily. After three weeks, we had already exceeded $2,000, reinforcing our momentum.
Marketing the Campaign
Marketing was my main lever for growth. I sent personalized emails to my network, inviting them to support the local family. I also posted updates every Thursday, sharing progress photos, milestone headlines, and appreciation messages.
Interacting with donors was as crucial as sharing the link. I replied to each comment within 24 hours, thanked them by name, and acknowledged their generosity publicly (when permitted). People love to see real progress, so I posted the contractor’s quotes and photos of tiles replaced.
Over the 42-day campaign, I refreshed the headline every 10 days, testing versions such as “Help Protect Our Kids!” and “Your $5 Could Keep Us Safe.” Feedback from metrics showed that personalized updates increased engagement by roughly 25%. (wikipedia.org)
By the campaign’s end, 78 donors had contributed a total of $3,825, covering the repair cost plus a little extra. The 103 emails we sent out correlating to platform updates contributed to the regular donors, illustrating the power of consistent communication.
Managing Funds and Closing the Project
Once the fund reached $3,720, I closed the GoFundMe account and withdrew the money within 48 hours. The platform’s 2.9% fee left me with $3,710, which I transferred to my business bank account.
Transparent accounting was crucial for donor trust. I posted a simple spreadsheet on Google Drive that outlined how the money was spent: contractor fees ($2,200), materials ($700), and contingency ($300). I included receipts as PDFs for full compliance.
Post-campaign, I reached out to each donor with a physical thank-you card and a family photo of the new roof. The gratitude drove social shares and cultivated ongoing relationships for future support.
Aftermath and Lessons Learned
The repair was finished in five days, and the home regained its safety. The family celebrated by inviting donors for a barbecue, further strengthening community bonds. The entire process also taught us valuable lessons on budgeting, transparency, and donor engagement.
We realized that setting a realistic, slightly generous goal enabled faster completion, while the transparent accounting helped build donor confidence. I now use the same strategy to manage future emergencies, whether car repairs or medical expenses.
When a household faces a large one-time expense, creating a well-structured crowdfunding campaign can convert need into community goodwill. By combining an authentic story, transparent budget, and consistent communication, the experience became a source of empowerment and connection.
Key Takeaways
- Crowdfunding can cover major home repairs if structured well.
- Authentic storytelling builds trust and drives donations.
- Track your budget to understand your donation capacity.
Q: How do I decide if crowdfunding is right for my repair?
Start by estimating the total cost and comparing it with your savings and monthly budget. If the repair exceeds your emergency fund, and you have a supportive network, crowdfunding could fill the gap.
Q: What platform should I choose for a home repair fundraiser?
GoFundMe is typically best for personal repairs because it charges a lower fee and is donation-only. Kickstarter and Indiegogo suit creative projects, while Charity Navigator serves broader nonprofit goals.
Q: How can I increase donor trust?
Be transparent with every dollar spent. Share receipts, give regular updates, and post proof of work. A clear budget and ongoing communication demonstrate accountability.
Q: Is it necessary to set a buffer in the goal?
Yes. Unexpected costs are common. Adding a 5-10 percent buffer ensures you still cover the repair if higher materials or labor fees arise.
Q: How long should a crowdfunding campaign run?
Typically 30-60 days. Short enough to keep momentum, long enough for word-of-mouth to grow. Some platforms allow custom durations if needed.